PhotoFrame
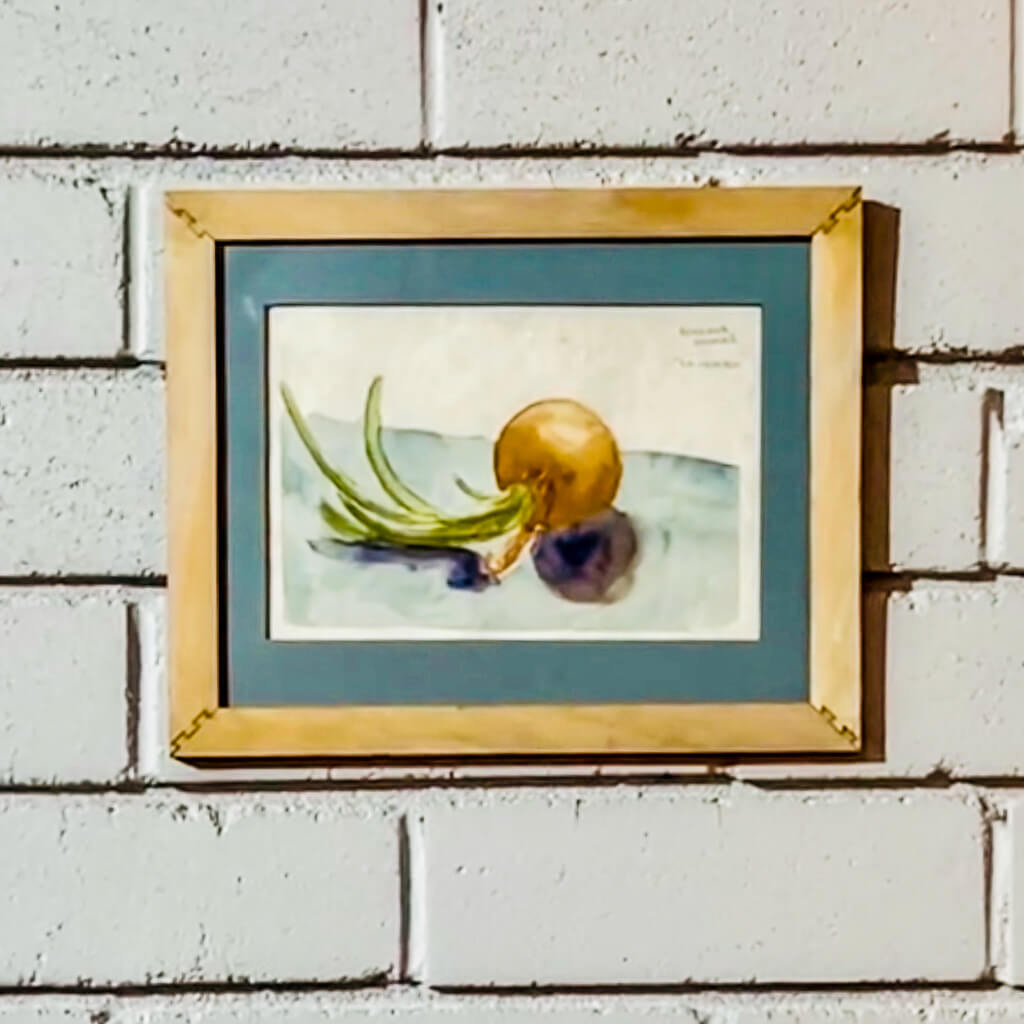
3-layer photo frame with a slot at the top to slide matboard/acrylic/glass over the photo after glue-up.
3-layer photo frame.
Selected excellent features:
- easy to change the photo after glue-up, without disassembling the frame
- calculates the ideal matting size for your photo based on ancient Greek mathematics
- can make the frame in one piece or split into 4 pieces to save material
- can make a frame to fit the piece of glass/acrylic you already have
- adds a hole for hanging the frame on the wall
Features available in the mysterious future:
- rounded corners
- a stand on the back to display the frame on a table
How to frame things like a pro
There are 1 or 2 things that you can't change when framing: the size of the artwork and the size of the glass. So we generate everything else to fit those measurements.
Set x and y to the dimensions of the actual artwork.
- If your photo has a border, measure inside it.
- If your photo does not have a border, still measure the actual artwork. Don't reduce the dimensions to allow for mounting. We do that separately.
A real pro measures the photo, calculates the matting, and cuts the glass to fit the matting. We will assume that you are not in fact a real pro, and can't be trusted with a glass cutter. So measure your glass and we'll calculate the matting to suit it. If you aren't using glass, we'll calculate the matting size based on "golden ratio of areas" like the pros do. Everyone will think your frame is perfect, but they won't know why.
Matting is just cardboard. Its jobs are to keep the glass off the photo, provide a clean border around the artwork, and make the whole thing look fancy. You can attach the photo to the matting or to the back of the frame. Either way, the matting conceals all sorts of sins like bad cuts, glue marks, or mounting with blue painter's tape. Matting also lets you reuse the frame for different sized photos. Just generate a new mat with the same glass dimensions.
The hole in the matting is smaller than the photo. This is so the photo doesn't fall out. Even if your photo has a border, the hole needs to be a bit smaller than the photo, or you will struggle to line up the photo without the edges showing. Recommended overlaps are given in the settings. Don't worry about "losing" too much of the photo. The matting will make the photo look bigger and more important. There's never anything interesting in the last 2mm of a photo anyway.

